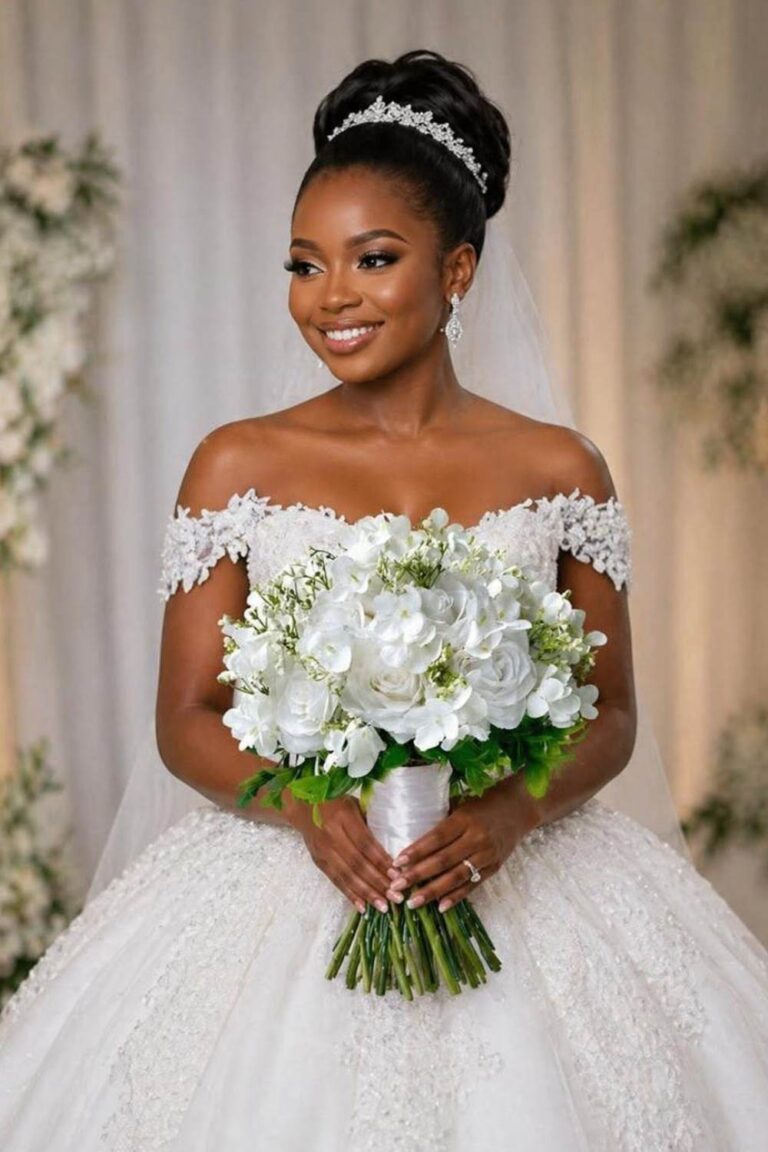
How to DIY Your Own Bridal Makeup
Let’s discuss about How to DIY Your Own Bridal Makeup.
You know, There’s something magical about getting ready on your wedding morning. The excitement, the happy tears, the photos with your bridal party, and that unforgettable moment when you finally put on your dress. But for many brides, there’s one question that can turn all that excitement into stress:
“Should I do my own bridal makeup, or should I hire a professional?”
If you’ve been asking yourself that same question, you’re not alone.
Professional wedding makeup can be expensive, and sometimes it’s difficult to find a makeup artist whose style matches exactly what you have in mind. That’s why more and more brides are choosing to DIY their own bridal makeup. Not only can it help save money, but it also gives you complete control over your final look.
Now, before you panic and imagine yourself trying to stick on false lashes with shaky hands five minutes before walking down the aisle (we definitely don’t recommend that!), take a deep breath.
Doing your own bridal makeup doesn’t mean you have to be a professional makeup artist. With the right products, a little practice, and a simple plan, you can create a beautiful bridal look that photographs well and lasts from your first look to your final dance.
The secret isn’t using the most expensive makeup products or following complicated beauty tutorials. It’s about knowing what works for your skin, choosing timeless makeup over trendy looks, and practicing your routine before the big day.
In this guide, we’ll walk you through how to DIY your own bridal makeup step by step. You’ll learn how to prepare your skin, choose the right products, apply each part of your makeup in the right order, and make sure everything stays fresh all day long. We’ll also cover common mistakes brides make and simple tricks to help you avoid them.
If you’re planning a small backyard wedding, an elegant ballroom celebration, a destination wedding, or simply love the idea of creating your own bridal look, this guide will help you feel confident every step of the way.
Can You Really DIY Your Own Bridal Makeup?
The short answer? Yes, you absolutely can.
You don’t need to be a professional makeup artist to create a beautiful bridal look. In fact, many brides successfully do their own wedding makeup every year, and you may have seen some of them on Pinterest or TikTok without even realizing it.
The biggest difference between a bride who loves her DIY makeup and one who regrets it usually isn’t talent. It’s preparation.
Think about it this way. You probably didn’t wake up one morning knowing how to curl your hair, draw the perfect eyeliner, or even blend foundation properly. Those are all skills you learned over time. Bridal makeup works the same way. With practice, patience, and the right products, you can create a polished look that feels just as special as one done by a professional.
One of the biggest advantages of doing your own bridal makeup is that you already know your face better than anyone else. You know which foundation matches your skin, which lipstick makes you feel confident, and how much blush feels like “you.” That’s something even the most talented makeup artist has to figure out during a trial session.
That said, DIY bridal makeup isn’t the right choice for everyone. If you rarely wear makeup, don’t enjoy the process, or know you’ll feel overwhelmed on your wedding morning, hiring a professional may be the better option. Your wedding day should be joyful, not stressful.
But if you enjoy doing your makeup, don’t mind practicing ahead of time, and want to save some money while creating a look that reflects your personal style, DIY bridal makeup can be a wonderful choice.
Remember, your goal isn’t to look like a completely different person. Your partner is expecting to see you, just with a little extra glow. The best bridal makeup enhances your natural beauty instead of hiding it.
And here’s a little reminder that every bride needs to hear: your guests won’t be standing two inches away, checking whether your eyeliner wings match perfectly. They’ll be smiling, celebrating, and admiring how happy you look. So don’t chase perfection, aim for confidence.
Once you decide to do your own bridal makeup, the next step is understanding why so many brides are choosing this route in the first place.
Why More Brides Are Choosing DIY Bridal Makeup
There was a time when hiring a professional makeup artist was considered the only option for a wedding. While that’s still a great choice for many brides, DIY bridal makeup has become more popular than ever, and for good reason.
Here are some of the biggest benefits of doing your own wedding makeup.
Also read: How to Plan Your Halloween-Themed Wedding
1. It Can Save You Hundreds of Dollars
Let’s be honest, weddings are expensive.
Between the venue, dress, flowers, photography, catering, and decorations, the costs add up quickly. Professional bridal makeup can be another significant expense, especially if you also book a trial session or pay travel fees.
By doing your own makeup, you can put that money toward something else that matters to you, whether it’s your honeymoon, wedding decor, or simply staying within your budget.
2. You’ll Look Like Yourself
One concern many brides have is ending up with makeup that feels too heavy or doesn’t match their style.
Maybe you’ve seen wedding photos where the bride looks beautiful, but almost unrecognizable. If that’s not the look you’re going for, doing your own makeup gives you complete control.
You can choose the foundation coverage, eyeshadow colors, lipstick shade, and overall finish that make you feel most comfortable.
3. You Already Know What Works for Your Skin
You’ve probably spent years figuring out which products your skin loves and which ones it definitely doesn’t.
You know if your skin gets oily by lunchtime, if certain foundations oxidize, or if your favorite concealer never lets you down. That personal experience can be a huge advantage on your wedding day.
4. You’ll Feel More Relaxed
Wedding mornings can be busy enough without rushing to someone else’s schedule.
Doing your own makeup means you can work at your own pace, take breaks if needed, and enjoy getting ready in a calm, familiar way. Put on your favorite playlist, sip a drink, chat with your bridesmaids, and make the experience part of the celebration.
5. You’ll Learn a New Skill
Even after your wedding day, everything you learn while practicing your bridal makeup can be useful for future events, date nights, parties, or special occasions.
It’s a skill that keeps giving long after you’ve said, “I do.”
Of course, while DIY bridal makeup has plenty of benefits, it also comes with a few challenges. The good news is that most of them are easy to avoid with a little planning, which is exactly what we’ll cover next.
Is DIY Bridal Makeup Right for You?
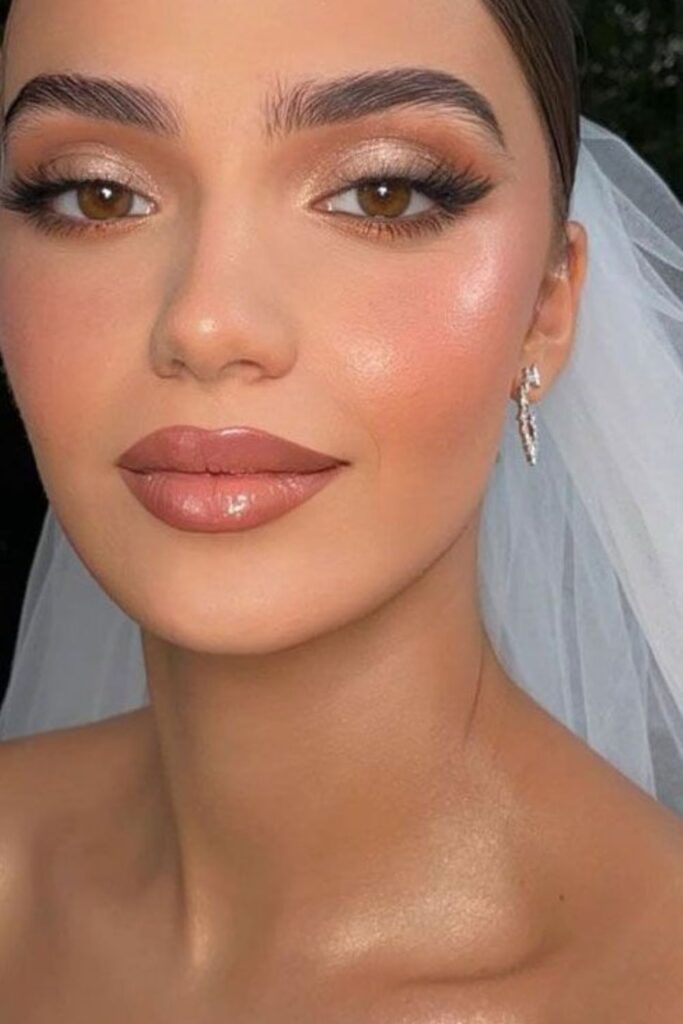
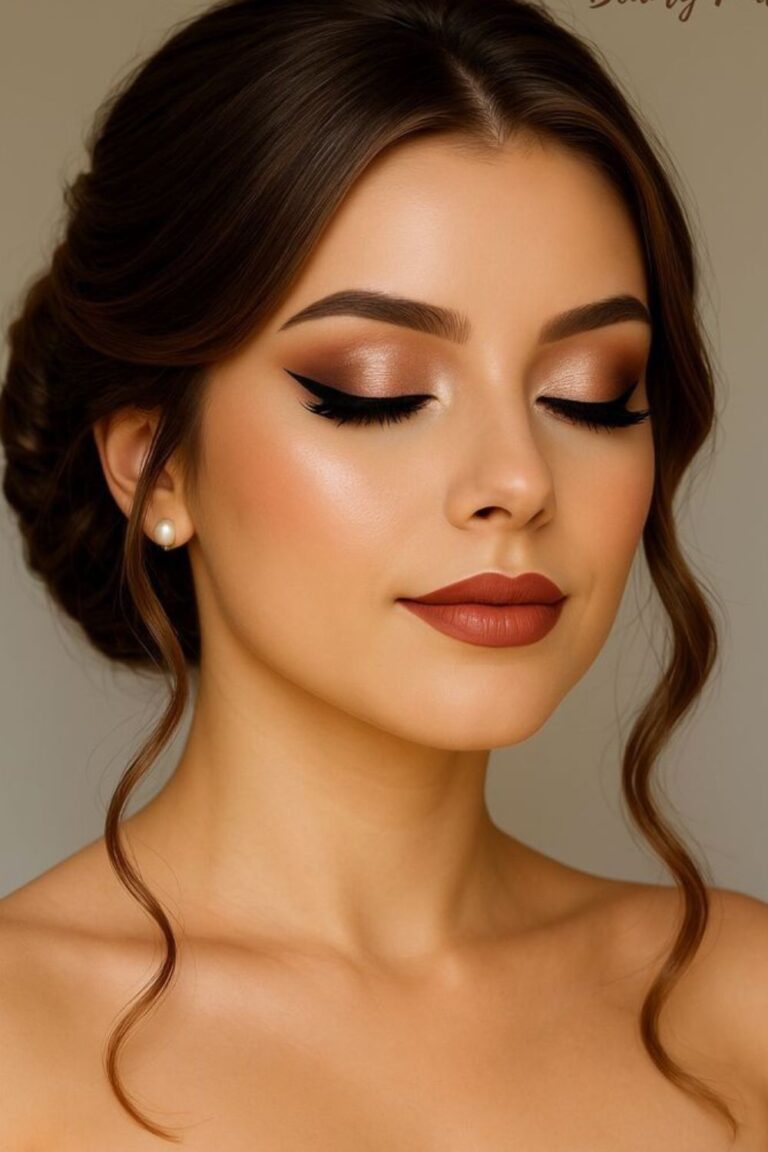
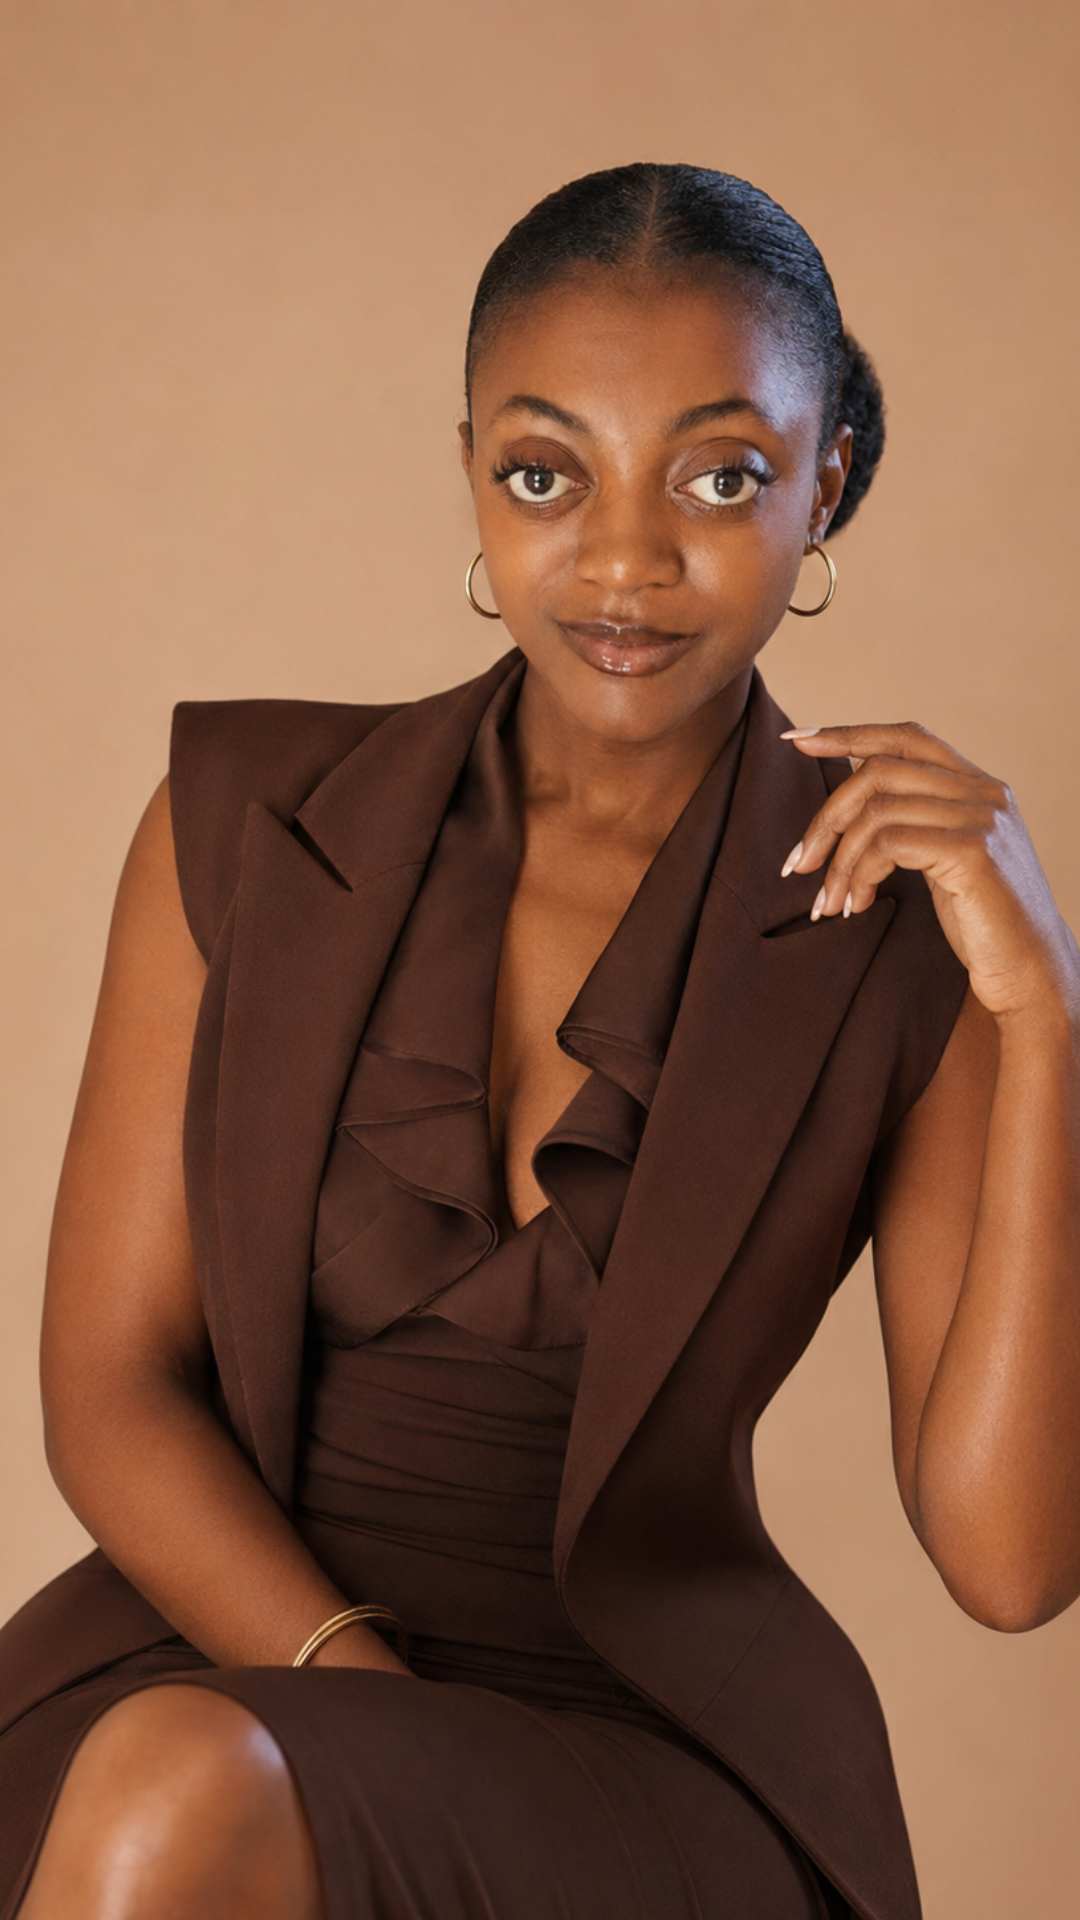
Photo Credit: @ Brijet Finister
DIY bridal makeup can be a fantastic choice, but it’s not the best fit for every bride, and that’s perfectly okay.
Your wedding day is one of the biggest days of your life. The last thing you want is to feel rushed, frustrated, or overwhelmed before you even walk down the aisle. That’s why it’s important to be honest with yourself before deciding whether to do your own makeup or hire a professional.
Here are a few questions to help you decide.
Also read: 35 Stylish Barn and Ranch Wedding Outfit Ideas
1. Do You Enjoy Doing Your Makeup?
This is probably the biggest question to ask yourself.
If putting on makeup is something you genuinely enjoy, you’re already off to a great start. Maybe you’ve learned a few techniques over the years, enjoy watching beauty tutorials, or simply like experimenting with different looks.
On the other hand, if you only wear makeup once or twice a year and still struggle to apply foundation evenly, your wedding day may not be the best time to learn everything from scratch.
You don’t have to be an expert, but you should feel comfortable with the basics before choosing the DIY route.
2. Are You Willing to Practice?
One practice session isn’t enough.
The best DIY bridal makeup looks usually come after several trial runs. Each time you practice, you’ll discover little things you can improve, If it’s blending your eyeshadow a bit more, choosing a different lipstick, or finding a foundation that lasts longer.
Think of it as a dress rehearsal for your face.
By the time your wedding day arrives, your routine should feel familiar enough that you don’t have to stop every few minutes to watch another tutorial.
3. Can You Stay Calm Under Pressure?
Let’s be honest, wedding mornings are exciting, but they can also be a little chaotic.
Someone might be looking for the rings, your phone may not stop buzzing with messages, and your bridal party could be asking you questions every five minutes.
If you know that a busy environment makes you feel stressed, consider whether you’ll still enjoy doing your makeup or if you’d rather let a professional handle it while you relax.
4. Do You Have Enough Time?
Good bridal makeup shouldn’t be rushed.
Set aside plenty of time so you can work carefully and fix any small mistakes without feeling pressured.
A good rule of thumb is to give yourself more time than you think you’ll need. It’s always better to finish early than to be blending eyeshadow while everyone else is waiting for you.
5. Are You Comfortable Being in Charge?
When you do your own makeup, you’re responsible for every step, from prepping your skin to applying the final setting spray.
Some brides love having that control because they know exactly how they want to look. Others would rather hand the responsibility to someone else and simply enjoy the experience.
Neither choice is wrong. It all comes down to what makes you feel the most confident.
When Hiring a Professional Might Be the Better Option

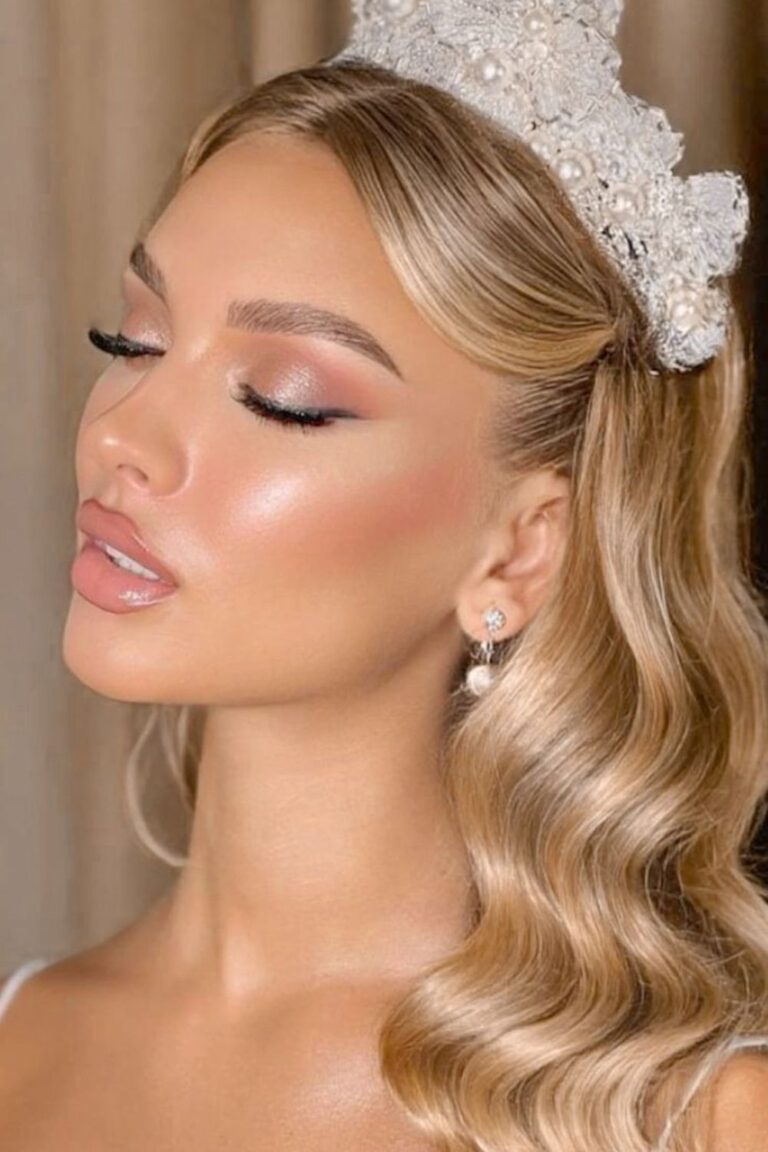
Photo Credit: @ Antunes Photo
DIY bridal makeup isn’t a competition, and there’s no prize for doing everything yourself.
You may want to book a professional makeup artist if:
You rarely wear makeup. You have a very early wedding and won’t have much time to get ready. You’re planning a large wedding with a packed schedule. You know you’ll feel anxious about applying your own makeup. You want a highly detailed or glamorous makeup look that requires advanced techniques.
Sometimes, the peace of mind is worth the extra cost.
You may also like: 30 Satin and Silk Wedding Dresses Every Bride Will Love
When DIY Bridal Makeup Makes Perfect Sense
You may love doing your own makeup if:
You already have a makeup routine you enjoy. You’re planning a small or intimate wedding. You’re working with a tighter wedding budget. You want complete control over your final look. You’ve practiced your bridal makeup several times and feel confident with it. You prefer a natural, timeless makeup style.
At the end of the day, there’s no “right” or “wrong” choice. The best option is the one that helps you feel beautiful, comfortable, and confident.
Even though your makeup is done by a professional artist or by your own hands, what people will remember most is the smile on your face as you celebrate one of the happiest days of your life.
Now that you’ve decided DIY bridal makeup is right for you, it’s time to start preparing. A flawless bridal look doesn’t begin with foundation, it starts weeks, or even months, before your wedding day.
Things to Do Before Your Wedding Day
Doing your own bridal makeup isn’t something you should leave until the morning of your wedding. A little preparation ahead of time can make the whole process smoother and help you avoid unnecessary stress.
Here are the most important things to do before the big day.
1. Practice Your Bridal Makeup More Than Once
The first time you try your bridal makeup shouldn’t be on your wedding morning.
Aim to do at least two or three full practice sessions. If possible, wear the makeup for several hours afterward to see how it holds up. Does your foundation stay in place? Does your concealer crease? Does your lipstick fade after eating or drinking?
Each practice session is a chance to make small improvements so you’re completely confident when the big day arrives.
2. Test Your Makeup in Different Lighting
Your makeup can look completely different depending on the lighting.
What looks flawless in your bathroom mirror may appear too dark, too light, or too shiny in natural daylight. After each practice session, step outside or stand near a window to check how your makeup looks in natural light.
If possible, take a few photos with and without flash. This can help you spot any areas that need adjusting before your wedding day.
3. Build a Bridal Makeup Kit
Gather all the products you’ll need well in advance. Make sure everything is in one place so you’re not searching for your mascara or beauty sponge at the last minute.
We’ll go over the must-have products in the next section, but it’s a good idea to check expiration dates and replace anything that’s dried out or nearly empty.
4. Take Care of Your Skin
The best makeup starts with healthy, well-prepared skin.
In the weeks leading up to your wedding, stick to a simple skincare routine that works for you. Cleanse your face, moisturize daily, and wear sunscreen if you’ll be spending time outdoors.
Try to avoid testing brand-new skincare products right before the wedding, as they could cause irritation or unexpected breakouts.
5. Plan Your Wedding Morning Timeline
Don’t leave your makeup until the very last minute.
Give yourself plenty of time to work slowly and comfortably. It’s also wise to build in a little extra time in case you need to redo a step or take a short break.
Remember, wedding mornings have a funny way of moving much faster than you expect!
With a little planning and preparation, you’ll set yourself up for a calm and enjoyable getting-ready experience, and that’s exactly how every bride deserves to start her wedding day.
Must-Have Bridal Makeup Products for a DIY Bride
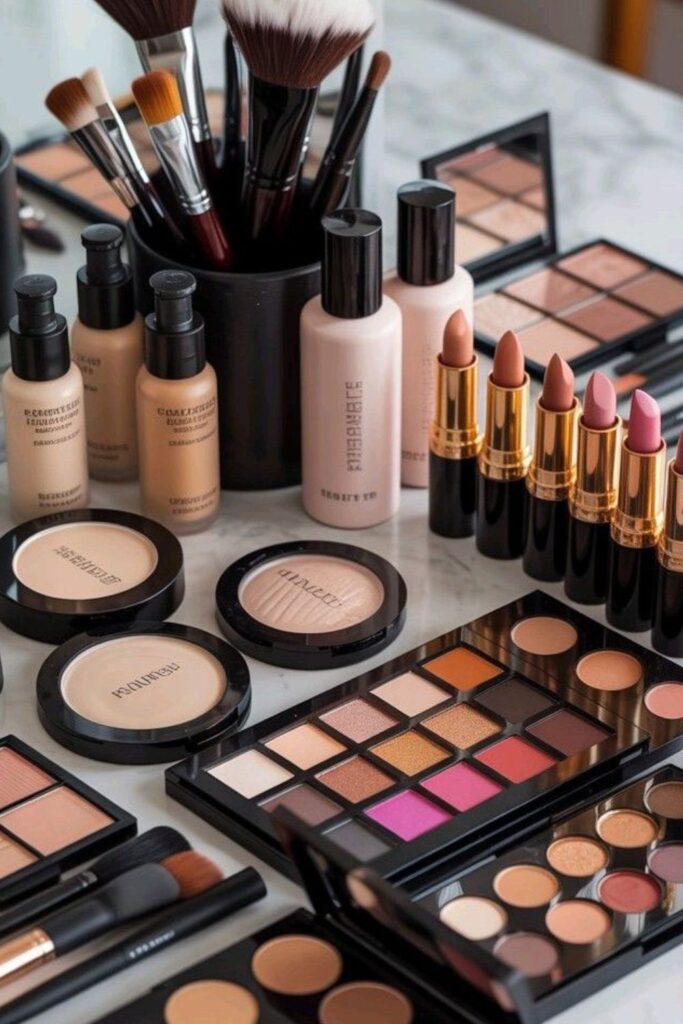
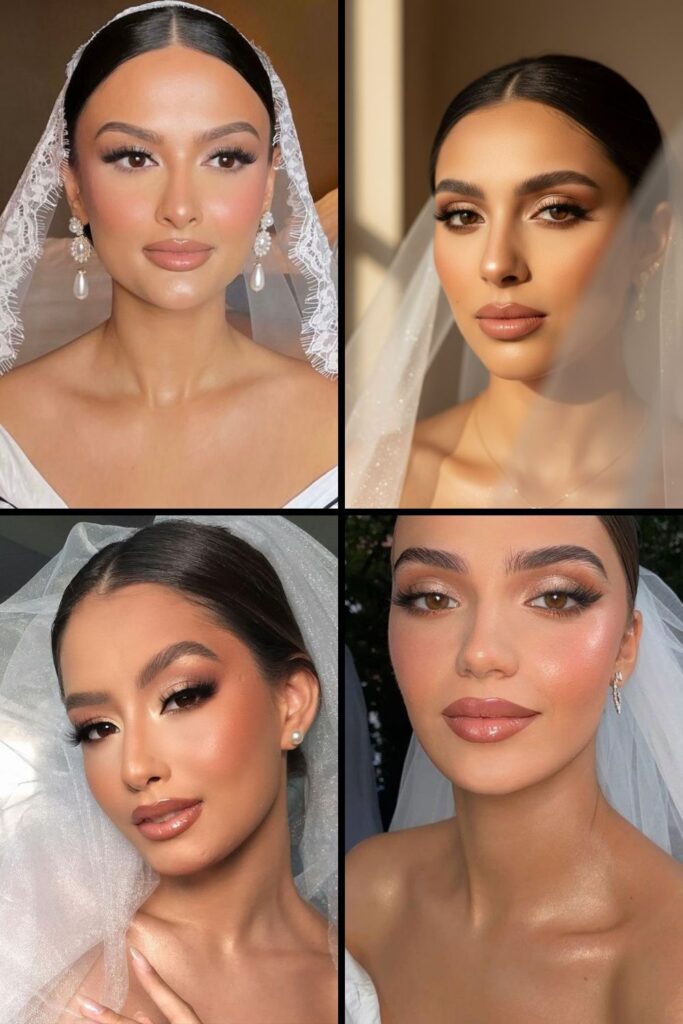
Photo credit: @ reviewGuruji
One of the biggest mistakes brides make when doing their own wedding makeup is assuming they need to buy every trendy product they see online.
The truth is, you don’t need a makeup bag overflowing with products to achieve a beautiful bridal look. You just need a few reliable essentials that suit your skin type, skin tone, and personal style.
If you already own makeup you love and trust, don’t feel pressured to replace it just because it’s your wedding day. Familiar products often give better results than brand-new ones you’ve never tried before.
Here’s what you’ll need.
Think of primer as the foundation before the foundation.
It creates a smooth base for your makeup, helping it apply more evenly and last longer throughout the day. Since weddings often involve hours of photos, hugs, dancing, and sometimes a few happy tears, a good primer can make a big difference.
Choose one based on your skin type:
Oily skin: A mattifying primer can help control shine. Dry skin: A hydrating primer adds moisture and prevents makeup from looking flaky. Combination skin: A balancing primer works well for both oily and dry areas.
Also read this : How to Choose a Wedding Hairstyle That Matches Your Dress
1. Foundation
Your foundation should even out your skin tone without making you look like you’re wearing a mask.
For bridal makeup, many brides prefer a medium- to full-coverage foundation because it photographs beautifully while still looking natural in person.
When choosing a foundation:
Test it in natural daylight. Match it to your neck as well as your face. Wear it for a full day during a practice session to make sure it doesn’t oxidize or separate.
The goal is fresh, healthy-looking skin, not a heavy, cakey finish.
2. Concealer
Concealer is your little helper for brightening the under-eye area and covering any blemishes or redness.
Choose one that’s slightly lighter than your foundation for under your eyes, but avoid going too light. A dramatic bright-white under-eye may look trendy online, but it can appear unnatural in wedding photos.
Blend it well so there are no obvious lines between your foundation and concealer.
3. Setting Powder
Even if you have dry skin, don’t skip this step.
A light dusting of setting powder helps lock your makeup in place and reduces unwanted shine, especially on the forehead, nose, and chin.
The key is using just enough to set your makeup, not so much that your skin loses its natural glow.
4. Bronzer and Contour (Optional)
These products are often confused, but they have different jobs.
Bronzer adds warmth and gives your skin a healthy, sun-kissed look.
Contour creates shadows that define your facial features.
If you’re a beginner, bronzer is usually easier to work with. Contour requires a little more precision, and using too much can make your makeup look harsh.
Remember, bridal makeup should be soft and timeless.
5. Blush
Never underestimate the power of blush.
A little color on your cheeks can instantly make you look more awake, healthy, and radiant.
Soft pink, peach, and rose shades are classic bridal choices because they suit many skin tones and photograph well.
Smile gently as you apply blush to the apples of your cheeks, then blend upward toward your temples for a natural finish.
5. Highlighter
Highlighter adds a subtle glow to the high points of your face, such as your cheekbones, the bridge of your nose, and your brow bone.
The word here is subtle.
Your wedding photos should capture a soft, radiant glow, not make you look like you borrowed glitter from a disco ball. (Save the extra sparkle for the dance floor!)
6. Eyeshadow
Your eyes are one of the main focal points of your bridal makeup.
Neutral shades such as champagne, taupe, soft brown, bronze, and rose gold are timeless choices that complement many wedding styles.
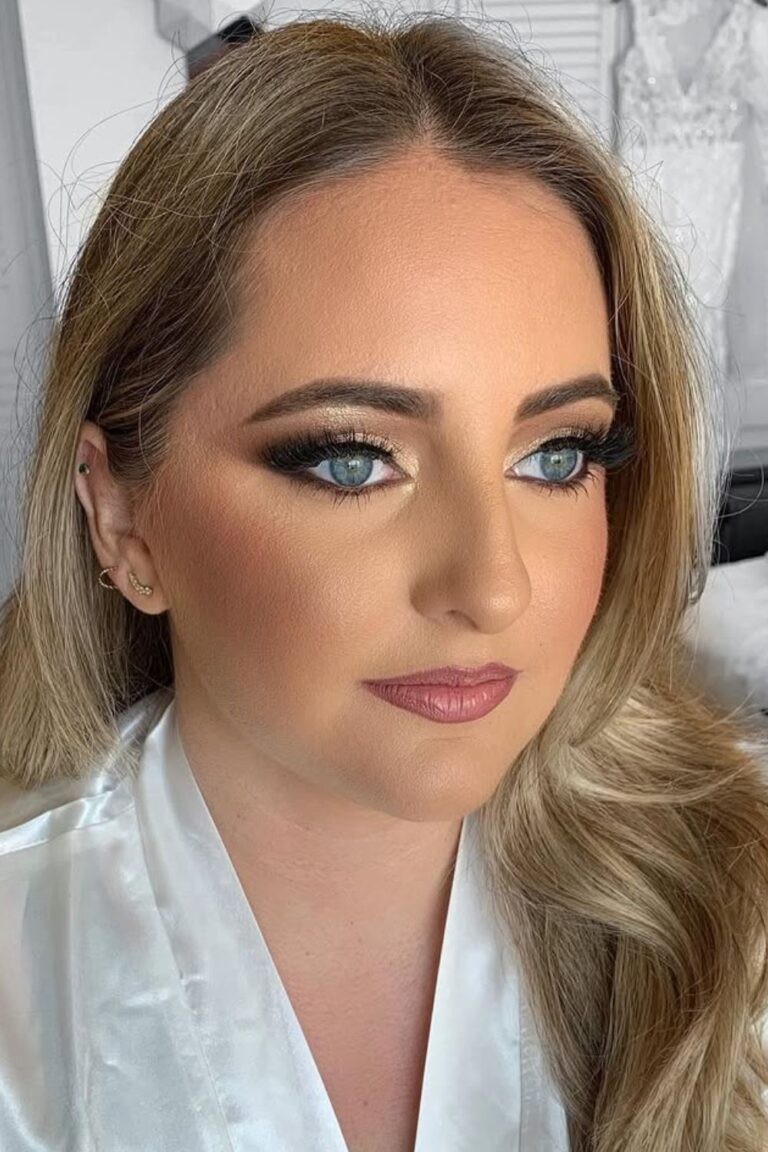
If you have blue eyes, certain shades can make them appear even brighter and more vibrant. We’ll share plenty of inspiration in our upcoming guide on Wedding Makeup Ideas for Blue-Eyed Brides. If you love a bold eye look, you’ll also enjoy our guide to Smoky Wedding Makeup for Blue Eyes, where we explore soft and dramatic smoky eye styles.
7. Eyeliner
Eyeliner helps define your eyes and can make your lashes appear fuller.
If you’re new to eyeliner, don’t feel like you have to create a dramatic wing.
A thin line close to your lash line often looks elegant, enhances your eyes beautifully, and is much easier to apply.
8. Mascara
Choose a waterproof mascara.
This isn’t because we expect you to cry, but let’s be honest, weddings have a way of bringing out happy tears.
A waterproof formula helps prevent smudges while keeping your lashes lifted throughout the day.
9. False Lashes (Optional)
False lashes can make your eyes stand out in photos, but they’re completely optional.
If you decide to wear them, choose a style that looks natural rather than overly dramatic.
Most importantly, practice applying them several times before your wedding day. The morning of your wedding is not the best time to have a wrestling match with lash glue!.
10. Eyebrow Products
Well-groomed brows frame your face and complete your makeup look.
Whether you prefer a pencil, powder, or brow gel, use light, hair-like strokes instead of drawing one solid shape.
Natural-looking brows are always in style.
11. Lip Liner and Lipstick
Your lipstick should make you feel confident while lasting through photos, conversations, and plenty of smiles.
Lip liner helps define your lips and keeps your lipstick from feathering or fading too quickly.
Choose a lipstick shade that complements your skin tone and wedding theme rather than following the latest beauty trend.
If you’re blonde, your hair color can also influence which lipstick and makeup shades flatter you most. We’ll cover this in more detail in our guides on Bridal Makeup Tips for Blonde Hair and The Best Wedding Makeup for Blondes of Every Shade, where you’ll find ideas tailored to different blonde tones.
12. Setting Spray
Think of setting spray as the finishing touch.
After spending time perfecting your makeup, you’ll want it to stay in place through your ceremony, portraits, dinner, dancing, and everything in between.
A good setting spray helps reduce fading and keeps your makeup looking fresh for hours.
Don’t Forget Your Makeup Tools
The products are important, but so are the tools you use to apply them.
Keep these essentials nearby:
Makeup brushes Beauty sponge Eyelash curler Tweezers Cotton buds for quick touch-ups Makeup remover wipes or micellar water (just in case!) A clean mirror with good lighting
Clean your brushes and sponges a few days before your wedding. Dirty tools can affect how your makeup applies and may even irritate your skin.
With your products and tools ready, you’re almost set. Now comes the fun part, putting everything together.
How to DIY Your Own Bridal Makeup
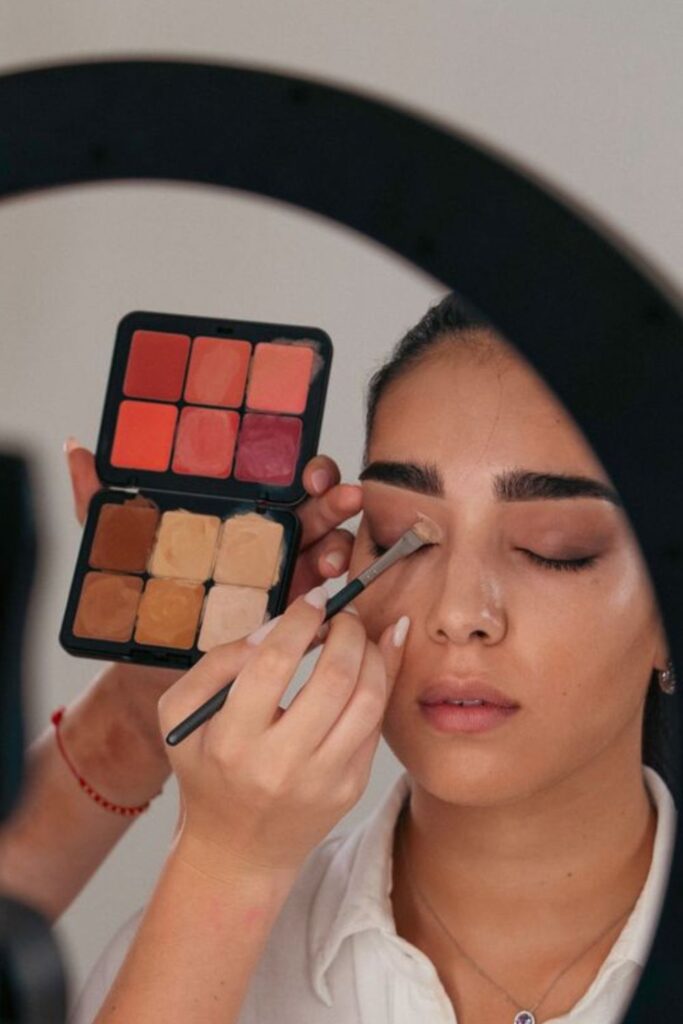
Now for the fun part!
If you’ve been wondering exactly how to DIY your own bridal makeup, this step-by-step guide will walk you through the entire process. Remember, there’s no need to rush. Your wedding makeup should be something you enjoy creating, not a race against the clock.
If you’ve practiced your routine a few times before the big day, these steps will feel familiar, making your wedding morning much more relaxed.
Let’s get started.
1. Start with Clean, Moisturized Skin
Every flawless makeup look begins with skincare.
Wash your face with a gentle cleanser to remove any oil or leftover skincare products from the night before. Follow with a lightweight moisturizer to keep your skin hydrated.
Hydrated skin helps foundation apply more smoothly and reduces the chances of dry patches or cakiness.
If your moisturizer hasn’t fully absorbed, wait a few minutes before moving on to the next step.
Take note of this: Avoid trying a new moisturizer on your wedding day. Stick with products you already know your skin loves.
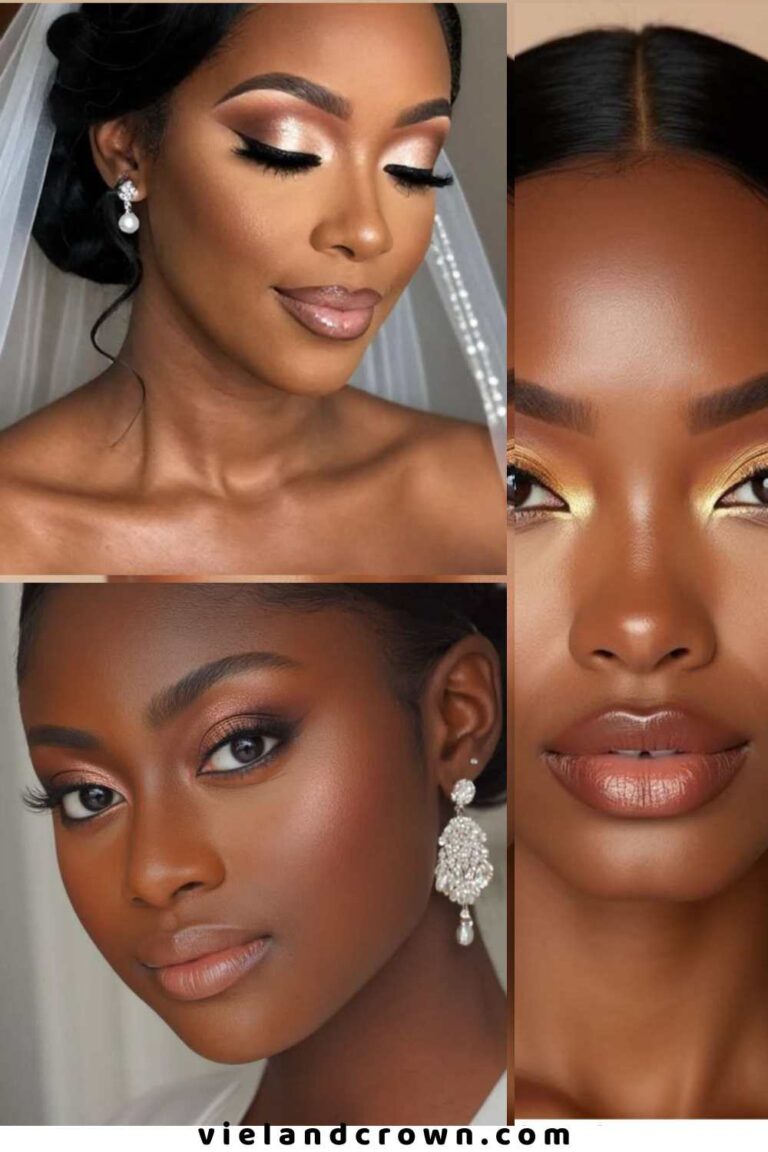
Also read: The Bridal Makeup Looks for Dark Skin Brides
2. Apply Primer
Once your skin is prepped, apply a thin layer of primer.
Focus on areas where makeup tends to wear off first, such as your forehead, nose, chin, and around your pores.
Primer helps your makeup last longer while creating a smoother surface for foundation.
Think of it as giving your makeup a strong foundation to sit on.
3. Apply Your Foundation
Now it’s time to even out your complexion.
Using a damp beauty sponge or foundation brush, apply your foundation in thin layers.
Start from the center of your face and blend outward.
It’s much easier to build coverage gradually than to remove too much product later.
Don’t forget to blend around your jawline, ears, and neck. One of the quickest ways to spot heavy bridal makeup is when the face and neck are two different shades, and your wedding photos deserve better than that.
4. Conceal Where Needed
Next, apply concealer under your eyes to brighten the area and cover any dark circles.
You can also dab a little concealer over blemishes or redness.
Blend gently until it melts into your foundation.
The goal is to brighten your face without creating obvious patches of lighter color.
5. Set Everything with Powder
This step helps lock your base makeup in place.
Using a fluffy brush, lightly dust setting powder over areas that tend to become oily, especially your forehead, nose, and chin.
If your skin is naturally dry, you don’t need to powder your entire face.
Remember, bridal makeup should still have a healthy, natural-looking glow.
6. Add Warmth with Bronzer
Now it’s time to bring some life back into your face.
Lightly sweep bronzer around your forehead, temples, under your cheekbones, and along your jawline.
Blend well until there are no harsh lines.
The idea isn’t to dramatically change your face shape, it’s simply to add warmth and dimension.
7. Apply Blush
Smile gently and apply blush to the apples of your cheeks.
Blend it upward toward your temples for a soft, lifted effect.
Blush often fades faster than other makeup products, so don’t be afraid to apply enough that it still shows in photos.
Just don’t overdo it, you want a bridal glow, not the “I just finished a marathon” look!
8. Add a Soft Glow with Highlighter
Using a fan brush or your fingertips, apply a small amount of highlighter to:
The tops of your cheekbones The bridge of your nose Your brow bone Your cupid’s bow
A subtle glow catches the light beautifully in wedding photos without looking overly shiny.
9. Create Your Eye Makeup
This is where your bridal look really starts coming together.
For a timeless wedding look, begin with a neutral eyeshadow across your eyelid.
Use a slightly darker shade in the crease to add depth, then blend until there are no harsh edges.
If you like a little shimmer, apply a champagne or soft gold shade to the center of your lid or the inner corner of your eyes.
Remember, blending is your best friend.
If your eyeshadow lines are obvious, keep blending a little longer.
If you’re unsure which colors suit your eye color, don’t worry, we’ll share plenty of inspiration in our upcoming guide to Wedding Makeup Ideas for Blue-Eyed Brides. And if you’re dreaming of a more dramatic eye look, be sure to check out our Smoky Wedding Makeup for Blue Eyes guide.
10. Apply Eyeliner
Apply a thin line as close to your upper lashes as possible.
If winged eyeliner isn’t your specialty, keep it simple.
A neat, thin line can make your lashes appear fuller without becoming the main focus of your makeup.
There’s no rule that every bride needs dramatic eyeliner.
11. Curl Your Lashes and Apply Mascara
Curl your lashes first, then apply one or two coats of waterproof mascara.
Waterproof formulas are ideal for weddings because they stand up better to tears, humidity, and long hours.
Allow the first coat to dry slightly before applying the second.
12. Apply False Lashes (Optional)
If you’re wearing false lashes, now is the time to apply them.
Place them as close to your natural lash line as possible.
Once they’re secure, you can add another light coat of mascara to blend your natural lashes with the false ones.
If false lashes aren’t your thing, don’t worry. Beautiful bridal makeup doesn’t depend on them.
13. Fill in Your Brows
Brows frame your face, so take your time here.
Use light, hair-like strokes to fill any sparse areas.
Avoid making your brows much darker than your natural color.
Your goal is polished, not painted on.
14. Line and Fill Your Lips
Outline your lips with a lip liner that closely matches your lipstick.
Then fill in your lips with your chosen lipstick.
Blot gently with a tissue and apply another thin layer if needed.
This simple trick can help your lipstick last longer throughout the day.
If you’re blonde, the lipstick shade you choose can have a big impact on your overall bridal look. In our upcoming articles, Bridal Makeup Tips for Blonde Hair and The Best Wedding Makeup for Blondes of Every Shade, we’ll share flattering color combinations for every blonde tone.
15. Lock Everything in with Setting Spray
You’re almost done!
Hold your setting spray about 8 to 10 inches (20–25 cm) from your face and spray in an “X” and “T” motion.
Allow it to dry naturally.
This final step helps your makeup stay fresh from your walk down the aisle to your last dance of the evening.
Take one last look in the mirror, smile, and remind yourself that you’ve done the hard work already.
Do One Final Check Before You Leave
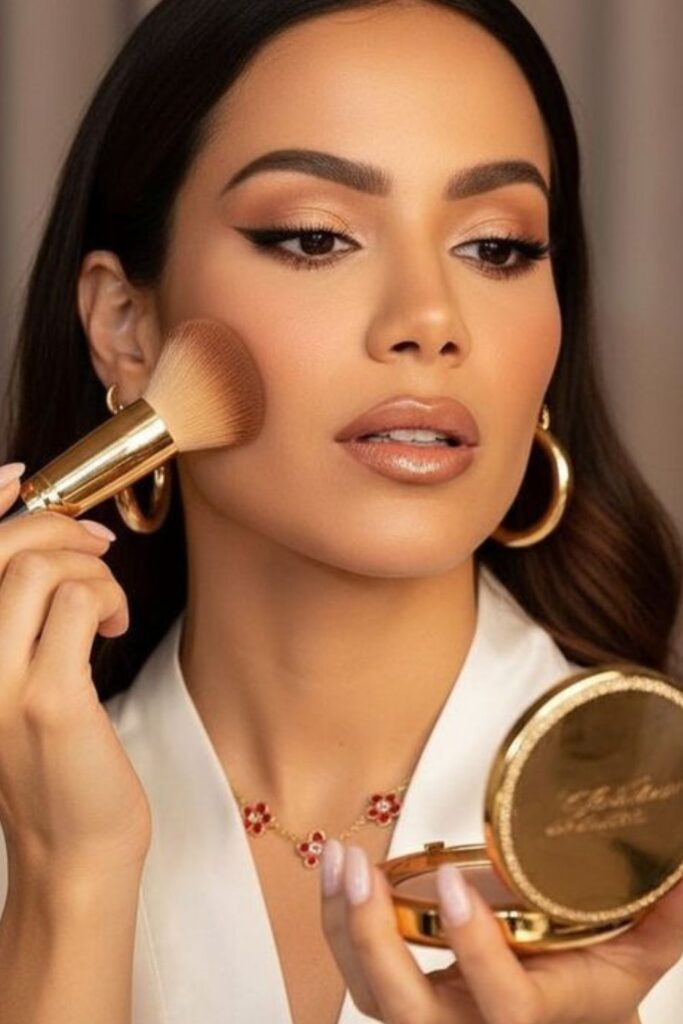
Before you head out the door, check your makeup in natural light if possible.
Look for:
Foundation that blends evenly into your neck. Eyeshadow that’s fully blended. Lipstick applied neatly. No mascara smudges. Brows that look balanced. Powder that’s well blended.
If someone is nearby, ask them to snap a quick photo with and without flash. Sometimes a camera catches little details that a mirror doesn’t.
And then? Stop tweaking.
One of the biggest mistakes brides make is constantly touching up makeup that’s already beautiful. At some point, you have to trust your preparation, put down the makeup brush, and enjoy your wedding day.
Common DIY Bridal Makeup Mistakes (and How to Avoid Them)
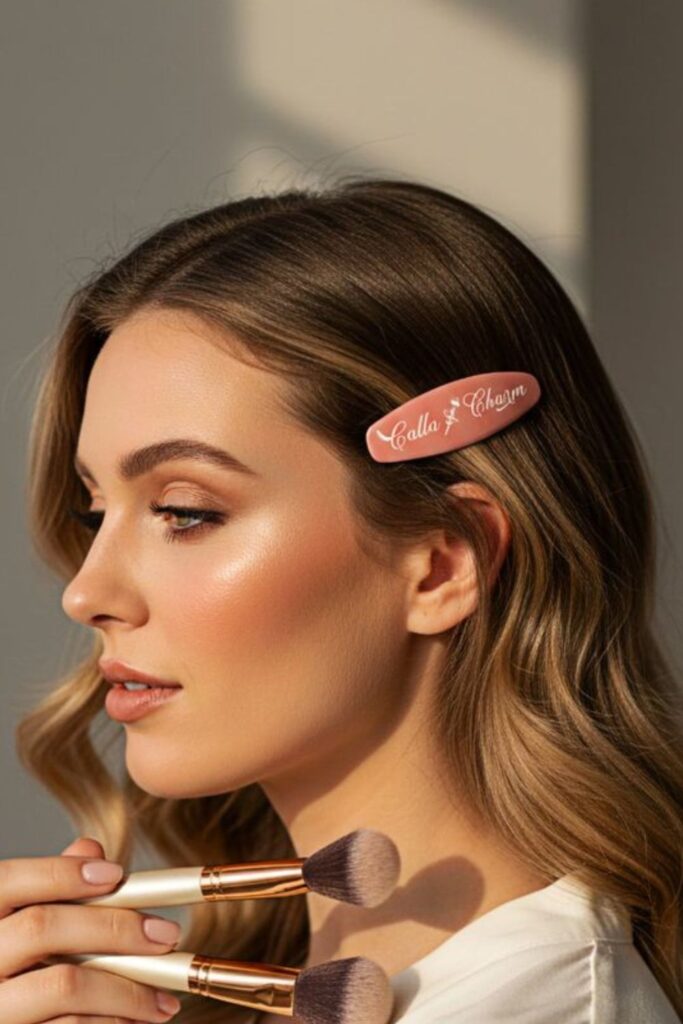
Even experienced makeup lovers make mistakes from time to time, so don’t worry if your first practice look isn’t perfect.
The good news is that most bridal makeup mishaps are completely avoidable. Knowing what to watch out for ahead of time can save you a lot of stress on your wedding day.
Here are some of the most common DIY bridal makeup mistakes, and how to avoid them.
1. Trying a Brand-New Makeup Product on Your Wedding Day
We get it. A beauty influencer just convinced you that a new foundation is “life-changing,” and now you’re tempted to buy it a few days before your wedding.
Resist the temptation.
A new product might not match your skin tone, suit your skin type, or wear as well as you hoped. In some cases, it could even cause irritation or breakouts.
Instead: Stick with products you’ve already tested during your practice sessions. Your wedding day isn’t the time for beauty experiments.
2. Skipping a Makeup Trial
Some brides think they can simply follow a tutorial on the morning of the wedding.
While that sounds easy in theory, it often leads to unnecessary stress.
Practicing your bridal makeup helps you figure out:
Which products work best together. How long your routine takes. What techniques need a little more practice. Whether your makeup lasts throughout the day.
By the time your wedding arrives, you should feel confident enough to complete your look without second-guessing every step.
3. Choosing the Wrong Foundation Shade
A foundation that looks perfect under indoor lighting may look completely different outside.
If it’s too light, your skin can appear dull. If it’s too dark, your face may not match your neck or chest.
Instead:
Test foundation in natural daylight. Blend it into your neck. Wear it for several hours before deciding it’s the right match.
Wedding photography captures every detail, so taking a little extra time here is worth it.
4. Applying Too Much Makeup
It’s easy to think that more makeup will look better in photos.
In reality, too much foundation, heavy contour, or excessive powder can make your makeup appear cakey and unnatural.
Remember, your goal isn’t to become a different person.
The best bridal makeup enhances your features while still looking like you.
When in doubt, start with less. You can always build coverage gradually.
5. Forgetting to Blend
Blending might not be the most exciting part of applying makeup, but it’s one of the most important.
Harsh lines around your jawline, uneven eyeshadow, or obvious contour can stand out in both photos and real life.
Take a few extra minutes to blend everything thoroughly.
Your future self (and your wedding album) will thank you.
6. Ignoring Your Neck and Ears
This is a surprisingly common mistake.
Many brides carefully apply foundation to their face but forget about blending it into their neck, and if your hairstyle exposes your ears, they can also stand out if they look noticeably different.
A little blending goes a long way in creating a seamless, natural finish.
7. Wearing Makeup You Don’t Normally Wear
Your wedding isn’t the best day to completely change your style.
If you usually wear soft, natural makeup, don’t feel pressured to suddenly choose bold eyeliner, dramatic contour, or bright lipstick just because it’s trending.
The most beautiful bridal look is one that still feels like you.
8. Forgetting About Flash Photography
Some products can reflect too much light when a camera flash is used, making parts of your face appear much lighter than the rest of your skin.
That’s why it’s so important to take a few test photos during your makeup trials.
Try taking pictures:
In natural daylight. Indoors. With flash. Without flash.
A quick photo can reveal small issues that you might not notice in the mirror.
9. Not Giving Yourself Enough Time
Nothing causes mistakes faster than rushing.
If you’re watching the clock while trying to blend eyeshadow or apply eyeliner, you’re much more likely to make errors.
Create a realistic wedding morning timeline and include extra time just in case.
Finishing early is far less stressful than trying to apply lipstick while someone is telling you it’s time to leave.
10. Forgetting a Touch-Up Kit
Even long-lasting makeup can benefit from a few small touch-ups during the day.
Pack a simple bridal touch-up kit with essentials like:
Lipstick Lip liner Blotting papers Pressed powder Small mirror Cotton buds A few tissues
You probably won’t need everything, but you’ll be glad you have it if you do.
Remember: Perfection Isn’t the Goal
One of the biggest myths about bridal makeup is that it has to be absolutely flawless.
Here’s the truth: your guests aren’t studying your foundation up close or judging whether your eyeliner is perfectly even.
They’re looking at your smile, your excitement, and the joy on your face as you marry the person you love.
If your lipstick fades a little after dinner or your blush softens by the evening, that’s completely normal. Those little changes won’t define your wedding day, but your memories certainly will.
So don’t chase perfection. Aim for a makeup look that makes you feel confident, comfortable, and happy every time you catch a glimpse of yourself in the mirror.
How to Make Your DIY Bridal Makeup Last All Day

You’ve spent time practicing your routine, chosen the right products, and carefully applied your makeup. Now comes the next challenge: making sure it stays fresh from the ceremony to the last dance.
The good news is that long-lasting bridal makeup isn’t about piling on more products. It’s about using the right techniques from the very beginning.
Here are some simple tips to help your makeup last all day.
1. Start with Well-Prepared Skin
Long-lasting makeup begins before you even pick up your foundation.
Clean, moisturized skin gives your makeup a smooth surface to grip onto. If your skin is extremely dry or oily, your makeup is more likely to fade unevenly throughout the day.
A consistent skincare routine in the weeks leading up to your wedding can make a noticeable difference.
2. Use Thin Layers
Applying thick layers of foundation or concealer won’t necessarily make your makeup last longer.
In fact, heavy makeup is more likely to crease, separate, or look cakey after several hours.
Instead, apply thin layers and build coverage only where needed.
3. Don’t Skip Primer and Setting Spray
These two products work as a team.
Primer helps your makeup adhere to your skin, while setting spray helps lock everything in place once you’re finished.
They’re small steps that can make a big difference over the course of a long wedding day.
4. Choose Long-Wearing Products
When possible, use makeup that’s designed to last for hours.
Look for words like:
Long-wear Waterproof Transfer-resistant Smudge-proof
These formulas are especially helpful for weddings, where your makeup needs to withstand hugs, happy tears, warm weather, and plenty of photos.
5. Blot Instead of Adding More Powder
If your skin starts looking shiny during the day, avoid layering on lots of powder.
Too much powder can make your makeup appear heavy.
Instead, gently use blotting papers to absorb excess oil first. If needed, follow with a very light touch of pressed powder.
6. Reapply Lipstick After Eating
Lipstick is usually the first part of your makeup to fade.
After eating or drinking, simply touch up your lipstick using the lip liner and lipstick you packed in your touch-up kit.
It only takes a minute and instantly refreshes your entire look.
7. Leave the Rest Alone
It can be tempting to keep checking your makeup every hour, but sometimes less is more.
If everything still looks good, enjoy your day instead of constantly reaching for your makeup bag.
After all, you planned, practiced, and prepared for this moment. Trust your work and focus on making memories.
Final Thoughts on How to DIY Your Own Bridal Makeup
Learning how to DIY your own bridal makeup isn’t about becoming a professional makeup artist overnight. It’s about feeling confident enough to create a look that reflects your personality and makes you feel beautiful on one of the most memorable days of your life.
Yes, it takes a little planning. You’ll need to practice your routine, choose products that work well for your skin, and give yourself enough time on the morning of your wedding. But once you’ve done that preparation, you’ll be surprised by how achievable it really is.
Remember, the best bridal makeup isn’t necessarily the most dramatic or the most expensive. It’s the makeup that makes you look in the mirror and think, “I still look like me, and I feel amazing.”
And if one tiny curl falls out of place or your lipstick needs a quick touch-up after dinner, don’t let it steal your joy. Weddings are filled with real moments, happy tears, warm hugs, laughter, dancing, and plenty of memories. Those are the things you’ll cherish long after the day is over.
As you continue planning your bridal beauty look, don’t stop here. Different features and hair colors can influence which makeup styles are most flattering. If you have blue eyes, be sure to explore our guide on Wedding Makeup Ideas for Blue-Eyed Brides for color combinations that help your eyes stand out beautifully. If you’re dreaming of a soft, romantic eye look with a little more drama, our Smoky Wedding Makeup for Blue Eyes guide is full of inspiration.
And if you’re a blonde bride, we’ve got you covered too. Our articles on Bridal Makeup Tips for Blonde Hair and The Best Wedding Makeup for Blondes of Every Shade will help you choose makeup colors that complement your hair and skin tone for a balanced, timeless bridal look.